


Diagnostic Port Car Guide: Where the OBD-II Port Is, How to Connect a Scanner, and Common Problems
As an auto safety technician serving Rockwall County TX and the greater DFW area, I see the same pattern over and over: a driver buys a cheap scanner, plugs into the diagnostic port car connector, and either gets confusing data, no connection, or makes things worse by clearing codes too early.
This guide will walk you through what the OBD-II port actually does, where to find it on most American and Japanese vehicles, how to connect scanners and phone-based adapters, why an obd 2 test may fail, and when it’s safer to book a professional Vehicle Diagnostic instead of guessing.
What Is a Car Diagnostic Port and What Does It Do?
OBD, OBD-II, and the idea behind onboard diagnostics
The diagnostic port car connector you’re looking for is officially called the OBD-II port (On-Board Diagnostics, second generation). Since the mid-1990s, almost all gasoline-powered and many diesel American and Japanese vehicles sold in the U.S. use this standardized 16-pin connector.
In plain English, the OBD-II system is your car’s way of:
- Monitoring engine, transmission, emissions, and other systems
- Detecting faults and storing trouble codes (DTCs)
- Letting a scan tool or laptop talk to different modules over shared communication lines
When your check engine light comes on, it’s the OBD-II system telling you: “There’s a problem, and I’ve stored data about it.” The diagnostic port is the doorway into that information.
What an obd 2 test can and cannot tell you
An obd 2 test (also called a scan or code read) typically includes:
- Reading stored and pending DTCs (diagnostic trouble codes)
- Seeing whether readiness monitors for emissions systems are complete
- Viewing live data (sensor values, fuel trims, O2 sensor readings, etc.)
However, an OBD-II scan cannot by itself:
- Tell you the exact part to replace every time
- Guarantee a complete picture of safety-critical systems like airbags or ABS with a basic scanner
- Replace professional testing with lab scopes, manufacturer-level software, and wiring diagnostics
Think of an OBD 2 test as a starting point, not a final answer.
What a basic diagnostic report usually includes
Most consumer scan tools and apps will generate a simple diagnostic report that may include:
- Vehicle VIN, year, make, and model (sometimes auto-detected)
- A list of current, pending, and historic DTCs with basic descriptions
- Emission readiness monitor status (complete/incomplete)
- Freeze frame data (a snapshot of conditions when a code set)
Professional shops in DFW often go further, correlating codes with manufacturer service information and deeper tests. If your report is full of unfamiliar codes (for example, a Nissan code like P1128 or a Chrysler body code like B224F-54), it’s usually time for a pro-level Vehicle Diagnostic. For deeper reading on what specific codes can mean, you can review articles like understanding Nissan DTC P1128 or understanding Chrysler DTC B224F-54.
Where Is the Diagnostic Port in a Car? Common OBD-II Locations by Vehicle Segment
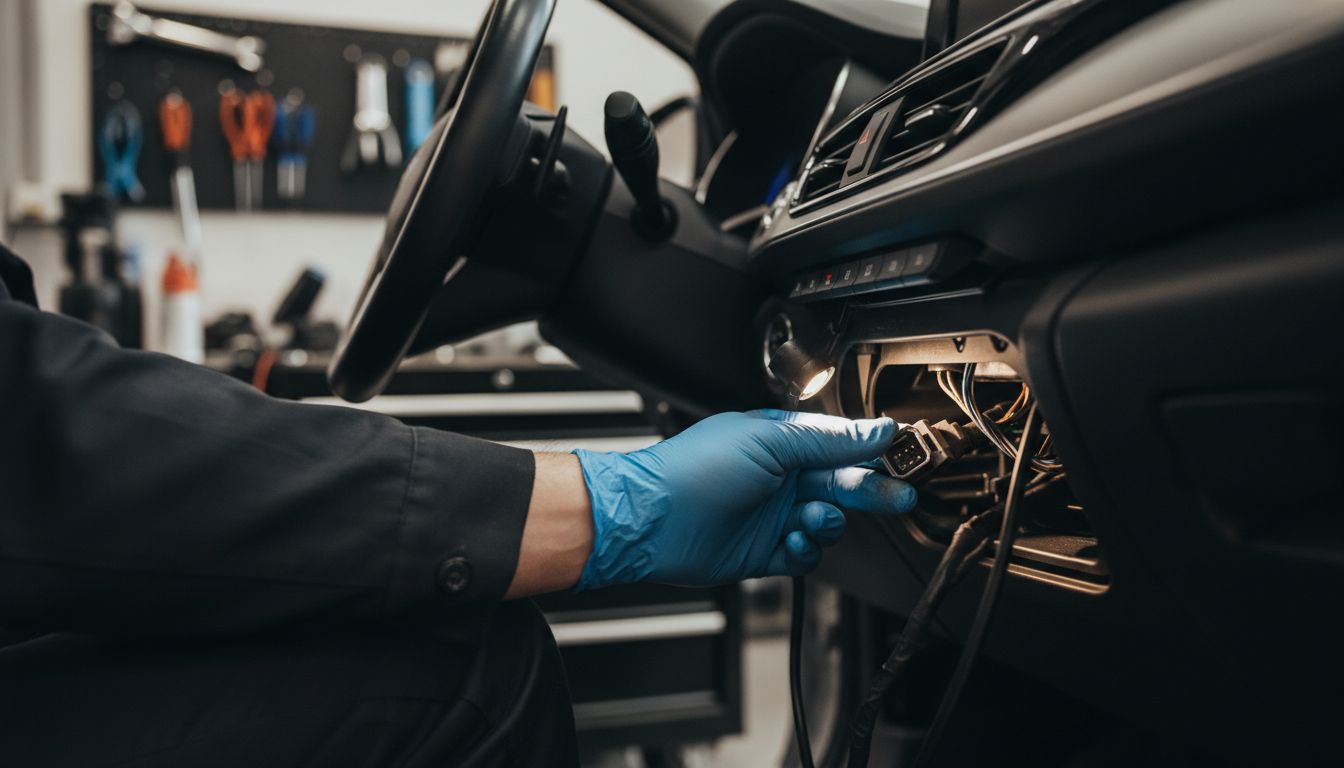
On any OBD-II compliant American or Japanese car or light truck, the diagnostic port must be within reach of the driver, typically under the dash on the driver’s side. But the exact spot can vary by vehicle segment and brand, which is why online photos can be confusing.
Sedans and compact cars
On most sedans and compacts (Toyota Camry, Honda Civic, Nissan Altima, Ford Fusion, Chevy Malibu, etc.), the OBD-II port is usually:
- Under the steering column, near the driver’s knees
- Just above the brake pedal area
- Sometimes behind a small plastic cover or flap
Run your hand along the lower dash trim where it meets the driver’s side footwell. You’re feeling for a small trapezoid-shaped 16-pin connector, often mounted horizontally.
SUVs and crossovers
On SUVs and crossovers (RAV4, CR-V, Highlander, Pilot, Explorer, etc.), the diagnostic port is again usually:
- Under the dash to the left of the steering column
- Near the hood release or interior fuse panel door
- Sometimes slightly recessed, pointing downward
On some models, there may be a fuse panel cover that you pop off; the OBD-II port may be directly attached to that area or next to it.
Pickup trucks and vans
On half-ton and three-quarter-ton pickups (F-150, Silverado, Ram, Tundra, Tacoma, etc.) and many vans:
- The port is commonly right under the steering column.
- It may be near a knee bolster panel or lower dash pocket.
- On some trucks, it’s on a bracket under the dash pointing downward toward the floor.
Because trucks sit higher, you might have to crouch and look up under the column to see the connector clearly.
Common hiding spots: under dash, fuse panel area, center console, kick panel
If you don’t see it immediately, check these typical hiding spots:
- Under-dash trim panel below the steering wheel
- Next to or above the interior fuse panel door
- On the lower edge of the center console near the driver’s right knee
- Near the driver’s kick panel (left side of footwell by the door)
If someone has had aftermarket alarms, remote starts, or trackers installed, the port may have been moved slightly or cluttered with extra wiring.
Why left-hand-drive vs. right-hand-drive photos can confuse readers
Many how-to articles and videos are filmed in right-hand-drive markets (like the UK, Japan, or Australia). In Texas, we use left-hand-drive layouts. That means:
- If a video shows the port near the passenger door, on your U.S. vehicle it will likely be near the driver door.
- Controls, fuse panel covers, and lower dash panels will be mirrored.
Always remember: for U.S. vehicles in Rockwall, Dallas, Fort Worth, and surrounding areas, the OBD-II port will be on the left side of the cabin, in front of the driver.
Show common OBD-II port locations by vehicle segment, pinout overview, how to connect common scanners and mobile adapters, typical connection errors and fixes, and security/privacy considerations for telematics/OBD adapters
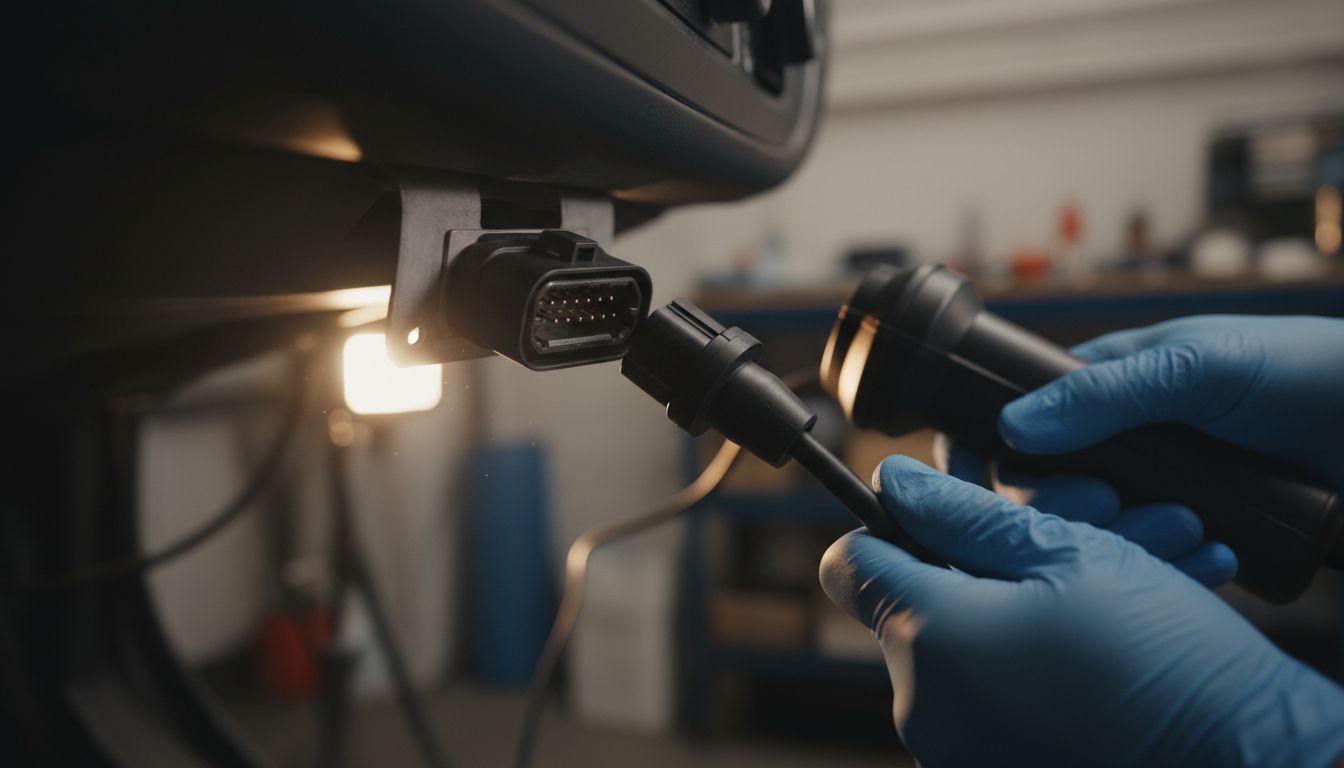
OBD-II connector shape and 16-pin layout overview
The OBD-II connector is a standardized 16-pin trapezoid-shaped port. Key things to know:
- The wide part of the trapezoid is usually on top, narrow on bottom.
- It has two rows of 8 pins each.
- Your scanner’s plug will only fit one way when aligned correctly.
Never force the connector. If it doesn’t plug in smoothly, stop and double-check the orientation. Forcing it can bend pins and create a permanent communication problem.
Pin basics: power, grounds, and communication lines in plain English
Without getting overly technical, here’s what matters for most drivers:
- Pin 16: Constant 12V battery power – this is what powers most basic scan tools.
- Pins 4 and 5: Grounds – the return path for electrical power.
- Other pins: Carry different communication lines like CAN, K-Line, etc., that let the scan tool “talk” to various modules.
If pin 16 has no power, or the grounds are poor, you’ll get no power at port or “no communication” errors when you try to run a scan.
How to connect a handheld scanner
For most basic handheld scan tools:
- Find the OBD-II port and inspect it visually for damage or bent pins.
- Turn the ignition key to ON (dash lights on) but engine off, unless the tool instructions say otherwise.
- Plug in the scanner connector gently until it’s fully seated.
- Wait for the scanner to power up (if it uses port power) and follow on-screen prompts.
- Select your vehicle (year/make/model) if required and proceed to read codes.
Many scanners that only handle engine and emissions will work fine on most American and Japanese vehicles, but more advanced systems (ABS, SRS, body modules) may require a higher-end tool or professional software.
How to connect a Bluetooth/Wi-Fi dongle and app
Bluetooth and Wi-Fi dongles are popular for DIYers, but they add extra failure points. Typical process:
- Locate the OBD-II port and plug in the dongle. A light should come on.
- Turn the ignition to ON (or start the engine if the app requires it).
- On your phone, go to Bluetooth or Wi-Fi settings and pair to the dongle (often a generic name like “OBDII” or the brand).
- Open your chosen scan app and confirm it’s set to use the correct adapter.
- Connect to the vehicle, then read codes, live data, or readiness monitors as needed.
Common issues with dongles include poor-quality hardware, app compatibility problems, and interference with other always-plugged-in devices.
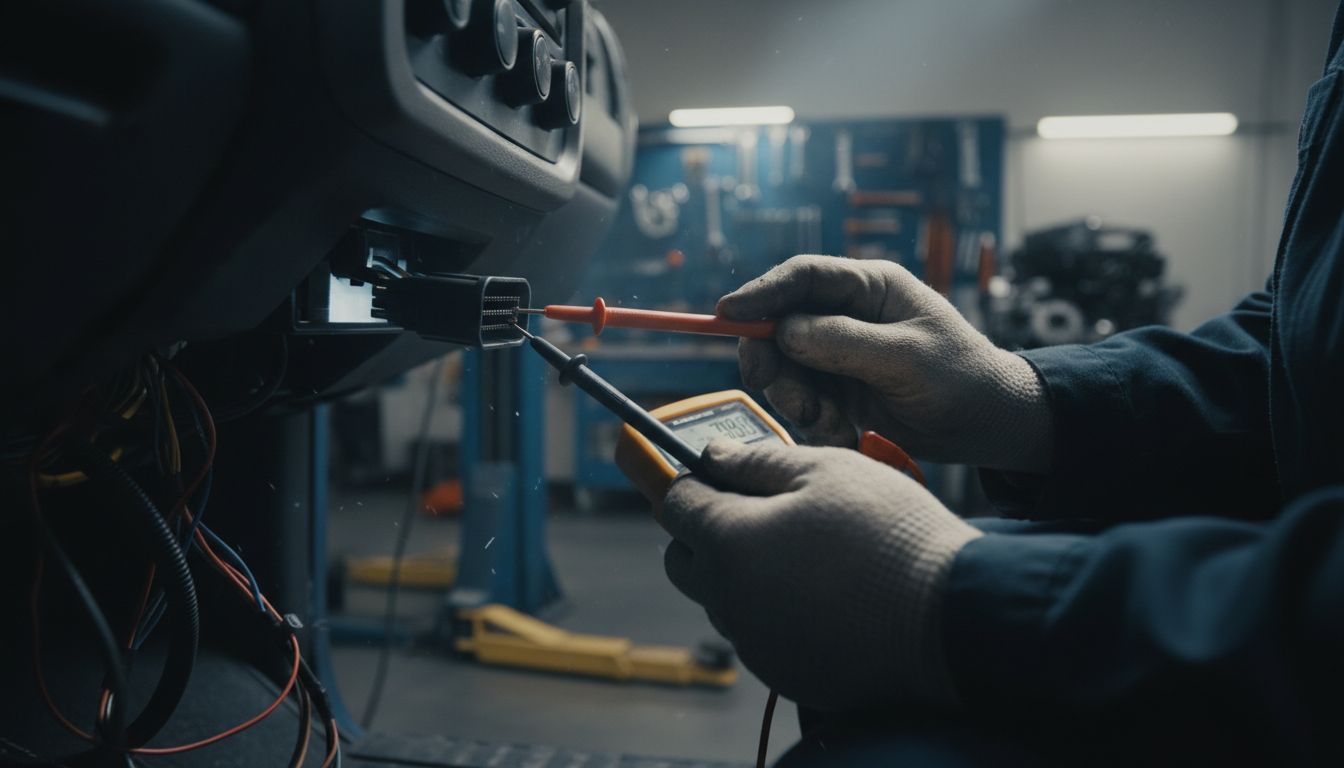
How to use an obd port tester safely
An obd port tester is a small tool that plugs into the OBD-II port and checks for basic conditions like:
- Is there 12V on pin 16?
- Is ground good on pins 4 and 5?
- Are communication lines present on the expected pins?
If you choose to use one:
- Only use testers designed for OBD-II automotive use, not generic electrical tools.
- Follow the instructions and avoid probing pins with metal tools if you’re not experienced—you can bridge pins and damage control modules.
- If the tester shows no power, no ground, or no CAN signal, that’s a strong sign you need a professional Vehicle Diagnostic to find a blown fuse, wiring issue, or module fault.
Common errors: no power, no communication, wrong protocol, loose fit, app pairing problems
Typical connection problems include:
- No power: Scanner won’t turn on; often a blown fuse that feeds the OBD port or a wiring issue.
- No communication: Scanner powers up but can’t talk to the car; may be a network issue, unsupported protocol, or module problem.
- Wrong protocol: Some cheap tools or apps can’t talk to certain vehicles, especially older models or trucks using less common protocols.
- Loose fit: Worn ports or cheap adapters may not seat firmly, causing intermittent contact.
- App pairing problems: Wrong Bluetooth device selected, incorrect Wi-Fi network, or app not authorized to use Bluetooth.
If you’ve verified the basics (key ON, fully seated connector, correct app settings) and still can’t connect, that’s usually beyond simple DIY and a sign to schedule diagnostics.
Privacy and security concerns with always-plugged-in adapters
Many drivers leave Bluetooth OBD dongles or insurance-tracking devices plugged in full-time. Be aware of:
- Data exposure: Some adapters and apps can log your driving habits, locations, and vehicle data.
- Security risks: Poorly secured devices can, in theory, be a pathway into your vehicle’s network.
- Electrical load: Constantly powered devices can contribute to parasitic drain on weak batteries.
If you don’t need the adapter running 24/7, it’s safer to unplug it after each diagnostic session.
How to Run an OBD 2 Test Without Making Common Mistakes
Key-on engine-off vs. engine-running: when each is used
For most basic scans on American and Japanese vehicles:
- Key-On, Engine-Off (KOEO): Best for reading stored/pending codes and checking readiness monitors without engine noise or vibration.
- Engine Running (KOER): Needed when you want to watch live data like fuel trims, O2 sensors, misfire counters, or when a code only sets while driving.
Always follow your scanner’s instructions. Some tests (like EVAP or certain drive cycles) may require specific engine and vehicle speeds.
Reading codes vs. reading live data vs. checking readiness monitors
Your scan tool may offer several modes:
- Read Codes: Shows current and pending DTCs. This is where you see what triggered the check engine light.
- Live Data: Streams real-time values (coolant temp, MAP/MAF readings, oxygen sensors, etc.), which help confirm if a sensor or system is truly malfunctioning.
- Readiness Monitors: Indicates whether emissions-related self-tests are complete. In Texas, this matters for emissions inspections.
Don’t rely on codes alone. On many modern vehicles, interpreting codes correctly often requires comparing them with live data and known specifications—something we do daily during a professional Vehicle Diagnostic.
Using an obd scanner for check engine light diagnosis
An obd scanner for check engine lights is a powerful tool if used correctly:
- Start by writing down or saving all code numbers and their descriptions.
- Check for multiple related codes—for example, lean condition codes plus misfire codes.
- Look at freeze frame data to see engine load, RPM, and temperature when the code set.
From there, you or your technician can look up common causes. For example, a code like P1128 on a Nissan or P1166 on a Hyundai may point to fuel mixture or sensor issues, but they still need proper verification. You can read more on these in guides like Understanding Nissan DTC P1128 and Understanding Hyundai DTC P1166.
Why clearing codes too early can hide useful clues
One of the biggest DIY mistakes is clearing codes immediately after seeing them. This can:
- Erase freeze frame and historical data your technician needs.
- Reset readiness monitors, causing a failure at your next emission inspection if they don’t complete in time.
- Make intermittent issues much harder to track down.
Best practice: Save or photograph your diagnostic report first. Only clear codes when you’ve repaired the problem or your technician instructs you to.
Why a Scanner Won’t Connect to the Diagnostic Port
Blown fuse or no 12V power at the port
If your scan tool won’t power up from the port, or a port tester shows no power on pin 16, a blown fuse is a common cause. The fuse that feeds the OBD-II port is often shared with:
- Cigarette lighter / power outlet
- Accessory power circuits
- Other interior electronics
Before replacing fuses repeatedly, find out why it blew. A shorted accessory, incorrect phone charger, or wiring issue can keep taking that fuse out.
Weak battery voltage or charging issues
Low system voltage can cause no communication or intermittent connection:
- Weak battery, especially after sitting or multiple short trips
- Failing alternator or charging system
- Corroded battery terminals or main grounds
If your battery is struggling and multiple warning lights flicker, handle the electrical health first—many modern modules will shut down communications when voltage drops too low.
Bent, corroded, loose, or damaged pins
Over time, or after rough use, the OBD-II port itself can be damaged:
- Bent pins: From forcing connectors in upside down or using the wrong plug.
- Corroded pins: From moisture intrusion under the dash (flooding, leaks).
- Loose pins: From worn plastic housing or frequent plugging/unplugging.
If you see obvious physical damage, avoid more attempts to plug in. This is where a professional needs to evaluate whether the port can be repaired or if wiring behind it is compromised.
Incompatible tool, outdated software, or bad app settings
Not every scanner works well with every car:
- Some ultra-cheap Bluetooth adapters don’t fully support all protocols used in certain American or Japanese models.
- Outdated apps or firmware may not recognize newer vehicles correctly.
- Wrong vehicle selection in the app can prevent a successful connection.
If you have access to a second, known-good scanner and it connects fine, the issue is likely your tool or app, not the car.
Network/module faults that need professional diagnostics
On many modern vehicles, the OBD-II port talks to multiple modules over a shared communication network (CAN bus, etc.). If there’s a deeper vehicle communication fault, you may see:
- Scanner reports “no communication with ECM/PCM.”
- Multiple warning lights lit (ABS, airbag, traction control, etc.).
- Other features not working (power steering assist, HVAC controls, etc.).
At this point, you’re beyond what a basic home scan can safely solve. A professional Vehicle Diagnostic here in Rockwall County TX or the wider DFW area involves checking network integrity, module power/grounds, and sometimes Module Programming if a module has failed or been replaced.
DIY Risks: When a Simple Scan Turns Into a Safety or Module Problem
Why fault codes are not the same as a final diagnosis
A common misconception is “the code told me what part to change.” In reality:
- Many codes point to a circuit or system, not a specific part.
- Bad wiring, poor grounds, or software issues can trigger the same code as a failed sensor.
- Replacing parts based on codes alone can waste money and still not fix the problem.
Codes are clues, not a verdict. Proper diagnosis often requires testing with a multimeter, lab scope, or factory-level software.
Risks of forcing connectors or using cheap adapters
Trying to jam a connector into the port or using very low-quality adapters can cause:
- Bent or broken OBD-II pins
- Short circuits if pins are bridged accidentally
- Electrical noise or voltage spikes that confuse sensitive modules
Once communication lines are damaged, the repair may be much more involved than the original issue—and may require professional wiring repair or module checks.
Safety Warning: Why SRS/airbag-related faults require extra caution
Important safety note: The SRS/airbag system contains explosive components (airbag inflators, seatbelt pretensioners, etc.). Improper testing can cause accidental deployment and serious injury.
If your diagnostic report shows SRS, airbag, or seat belt-related codes:
- Do not randomly unplug connectors under seats or at airbags.
- Do not probe airbag connectors with test lights or generic multimeter leads unless you are trained and using proper tools.
- Do not clear airbag codes and assume everything is safe without confirming the underlying repair.
This is an area where a professional Vehicle Diagnostic is not just recommended—it’s a safety requirement.
When to Schedule a Vehicle Diagnostic in Rockwall County TX
Signs you need professional help after a failed scan
It’s time to schedule a professional Vehicle Diagnostic in Rockwall County TX or the DFW area if:
- Your scanner says “no communication” or won’t power on from the port.
- You suspect a blown fuse, wiring issue, or damaged OBD-II connector.
- The check engine light keeps returning right after you clear codes.
- You have codes in ABS, SRS/airbag, or other safety-related modules.
- Your diagnostic report shows multiple communication or network-related codes.
What LockNCal checks during a Vehicle Diagnostic
During a professional Vehicle Diagnostic on an American or Japanese vehicle, a technician will typically:
- Verify power and ground at the diagnostic port and key modules.
- Use professional-grade scan tools to access all available modules, not just the engine.
- Pull codes, freeze frame, and readiness status, then interpret them with factory-level information.
- Check live data and run specific tests to confirm root causes, not just symptoms.
- Advise you on the safest and most cost-effective repair path.
This level of testing is very different from a 30-second code read at a parts store.
When Module Programming may be needed after communication faults or replaced components
Sometimes, after modules are replaced or communication faults are repaired, the vehicle needs Module Programming to:
- Initialize or code a new module to the vehicle.
- Update software to correct known issues or improve compatibility.
- Re-learn security, throttle, or transmission adaptation values.
Module Programming is not a DIY process; it requires specific tools, subscriptions, and procedures. If your scan results or symptoms point to a failed or replaced module, plan on professional involvement.
Soft CTA for DFW and Rockwall County TX drivers
If you’re in Rockwall County TX, Rockwall, Dallas, Fort Worth, or nearby areas like Plano, Frisco, Garland, or Mesquite and you’re struggling with the diagnostic port, incomplete data, or repeated codes, it’s safer to step up to a professional Vehicle Diagnostic before parts-swapping or guessing.
You can explore local service information for your area here: Vehicle services for Rockwall County TX drivers.
Final Takeaway: Use the Port Carefully, Then Escalate the Right Way
The diagnostic port car connector is one of the most powerful tools on your vehicle when used correctly. It lets you run an obd 2 test, generate a diagnostic report, and use an obd scanner for check engine light issues without guesswork.
But it also has limits. Connection failures, no power at port, network faults, and any codes involving safety systems (airbags, ABS, stability control) are clear signs to stop DIY efforts and schedule a Vehicle Diagnostic with a qualified shop serving Rockwall County TX and the DFW region. In some cases, resolving those communication issues may also require professional Module Programming.
If you’d like to better understand your vehicle before scheduling service, you can also decode your VIN and review factory build info here: LockNCal VIN Decoder.
Bottom line: Use the OBD-II port to gather information, protect your safety systems by respecting their limits, and don’t hesitate to bring in a professional when the data gets confusing or the car stops talking back.
FAQs About the Car Diagnostic Port and OBD-II Scans
1. Where is the diagnostic port in most cars?
On most American and Japanese cars and light trucks, the diagnostic (OBD-II) port is under the dash on the driver’s side, near the steering column or above the pedals. Sometimes it’s near the interior fuse panel or the lower edge of the center console by the driver’s knee.
2. Can any scanner work with my car’s OBD-II port?
Most basic OBD-II scanners will read engine and emissions codes on 1996+ U.S. vehicles, but not all tools can access ABS, SRS, or body modules. Very cheap Bluetooth adapters and apps may have compatibility issues. For full-system diagnostics, a professional-grade scan tool is usually required.
3. What does an OBD 2 test actually show?
An OBD 2 test shows stored and pending trouble codes, emissions readiness monitor status, and often live data like sensor readings. It tells you what the computer is unhappy about, but it doesn’t guarantee a final diagnosis without additional testing.
4. Why does my scanner say no communication?
“No communication” can be caused by a blown OBD-fuse, no 12V power at the port, weak battery voltage, damaged pins, an incompatible or faulty scanner, or a deeper vehicle communication fault on the network. If a known-good tool still can’t communicate, schedule a Vehicle Diagnostic.
5. Can I leave a Bluetooth OBD adapter plugged in all the time?
Many people do, but it’s not ideal. Always-plugged-in adapters can expose driving data, create minor parasitic battery drain, and in rare cases interfere with normal network operation. It’s safer to plug them in only when you need to run diagnostics and unplug them afterward.
6. Will an OBD scanner for check engine lights tell me the exact part to replace?
Not reliably. An obd scanner for check engine lights gives you codes and data, which are clues—not guaranteed part lists. The same code can be caused by a failed sensor, a wiring issue, or even a software problem. Proper diagnosis is still needed before buying parts.
7. When should I book a professional Vehicle Diagnostic in Rockwall County TX?
Book a Vehicle Diagnostic if your scanner won’t connect, the port has no power, the check engine light keeps returning, you have safety-system codes (airbag, ABS, traction), or the diagnostic information is confusing. Drivers in Rockwall County TX and across DFW are better off getting a solid diagnosis before replacing expensive parts or ignoring warning lights.


